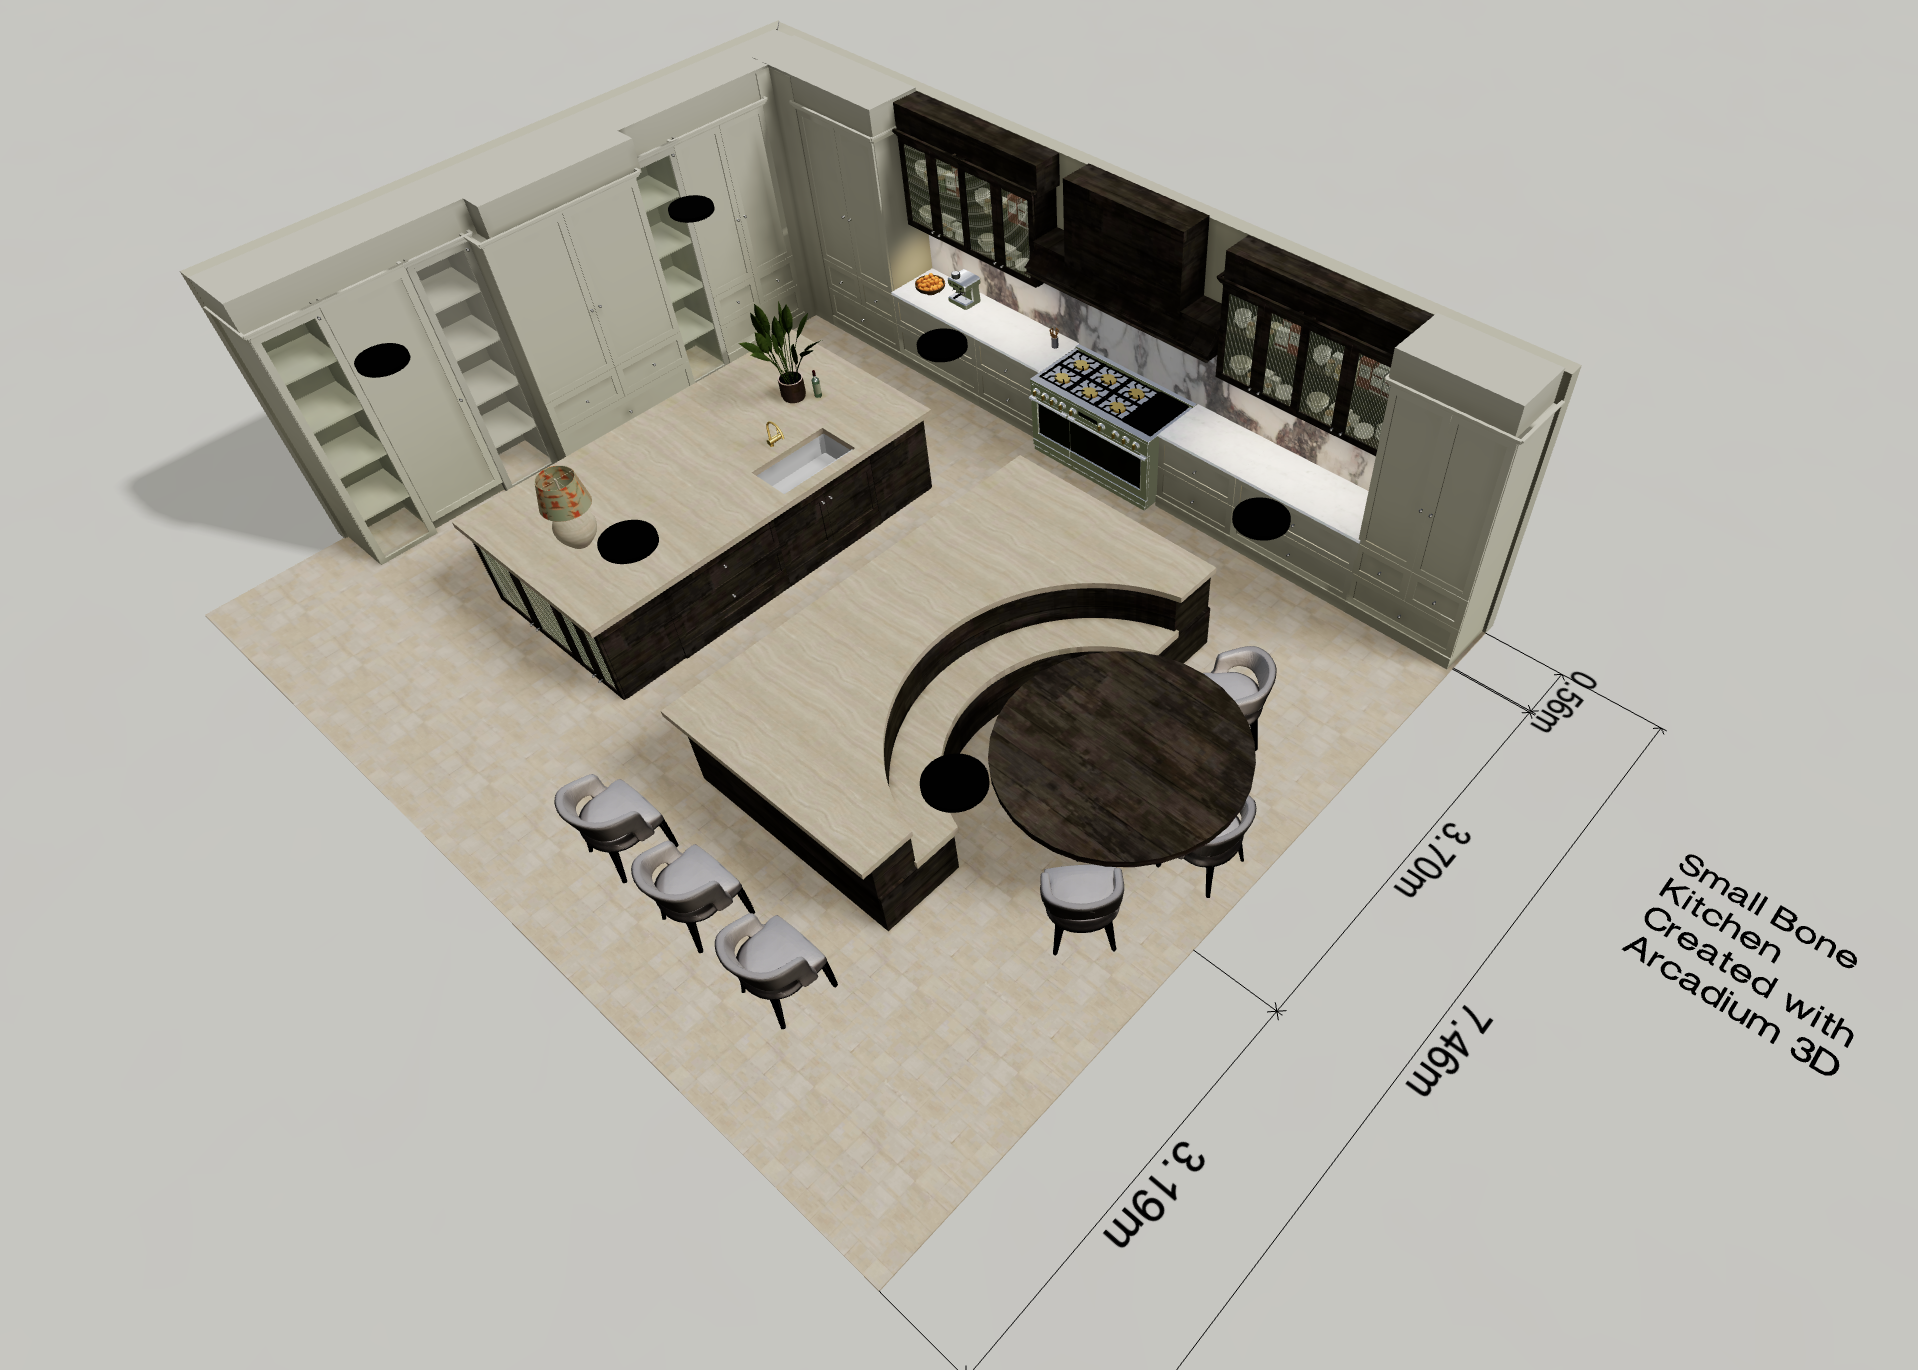
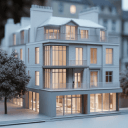
Turn kitchen inspiration into a detailed 3D design with Arcadium. This 10-minute walkthrough covers cabinets, a custom island, curved seating, materials, dimensions and lighting, using a kitchen by Smallbone as the reference.
Watch the video above, then use the guide below to revisit the controls and techniques. Each timestamp opens the relevant part of the video.
Create a new 3D project. If you have a floor plan, use it to generate the walls; otherwise, draw them using the tools on the left. Enter a known wall dimension directly into its dimension label.
Add cabinets: open the kitchen menu on the left and choose the units for your layout.
Position from above: switch to the top-down view in the top menu when placing units is easier in plan.
Resize objects: drag the blue handles, or enter exact values in the right-hand menu or the black-and-white dimension labels.
Fill awkward gaps: use a shape object for corner infills and resize it to fit.
Tip: establish the room, floor and key furniture early so you can judge the proportions and layout. In the video, some dimensions are estimated from the reference image; when you know the measurements, type them in.
2. Adjust cabinet options and edit several units at once
Cabinets can be opened, and the clutter inside can be switched off. The wall cabinets shown in the tutorial also come with under-cabinet lighting.
Hold Shift while selecting several objects to edit them together. The video uses this to change the cabinet kickers and then the colours across a group.
Tip: get the units in place before refining their finishes. Changing colours together later makes it easier to keep the kitchen consistent.
Combine library objects and simple shapes to recreate an island that does not match a single ready-made unit. For the glazed base units in this design, the tutorial adapts a glass-fronted wall cabinet by increasing its depth and adjusting its height, then fills the island sides with drawers.
Use a flat rectangle from the shape menu for the worktop. Resize it so it slightly overhangs the cabinets below. Shape objects also fill the gaps above tall cabinets to create the floor-to-ceiling look.
Sink cutout: place a shape where the opening is needed and switch it to cutout mode to cut through the worktop. In this build, that technique accommodates the sink unit within the custom island. See the sink technique at 3:47.
For the semicircular seating area, choose the pen tool and select shape. Select a corner and type into its label to enter an exact dimension. Add extra points as needed, then drag the small white handles to form curves, arcs and Bézier curves.
The seating in the tutorial is built in layers: a base, a seat and a separate worktop above. This allows the inset detail to be modelled as part of the construction.
Tip: check where the chairs will sit before adding decorative panels. The walkthrough includes an end panel that is reconsidered when the chair positions become clear.
The tutorial uses an image search to find a chair similar to the reference, then adds those photos to Arcadium’s AI model generator under My Items in the left menu. Once the chair is generated, update its dimensions in the right-hand menu to give it the intended size.
To arrange multiple chairs, hold Shift and select them together. Switch to the top-down view for a clearer view of their positions, then use the alignment and distribution options on the right to centre and space the group.
Tip: check a generated object’s dimensions before arranging copies. Use the alignment controls instead of trying to line up each chair by eye. See alignment at 5:45.
Add plants, bowls and other kitchen objects to give the room a lived-in feel. Choose a backsplash from the kitchen menu, then open the materials menu to replace its standard tile finish with a stone material.
For the mirrored stone pattern in this design, create one half of the backsplash, duplicate it and mirror the other half. This produces the bookmatched effect shown in the reference.
Choose the measuring tool on the left, then click the start and end points of a dimension. Extend the dimension out from the model and adjust its font size and colour. Combine overall measurements with smaller dimensions to communicate the layout.
For written notes, select the text component under the labels menu on the left. Type your note and adjust its font size and colour. The video uses these annotations to explain the design to people working on the kitchen.
8. Create a floor-plan view and adjust the section
Select the floor plan button in the top menu to show a black-and-white outline view. It is still the same 3D model, with a cross-section applied.
Change the cross-section height to show cabinets at different levels, including upper cabinets. You can also change the section colour to make the cut stand out from the rest of the design.
Open environment settings in the top tab to explore different presentation styles. The nighttime view used in the video makes the lighting effects easier to see.
Add lighting: choose pendants or lamps from the left menu and place them in the scene.
Adjust height: move the light up or down and observe how its pool of light changes.
Set an exact elevation: use the red arrows, then type a value into the black label to specify the elevation above the surface.
Change intensity: use the brightness setting in the right-hand menu to adjust the light or turn it off.
Tip: use the nighttime environment while experimenting with the lights, then explore the other environment styles for presenting the finished design.


 Color palette generator
 Floor plan creator
 Interior design app
 Kitchen design tool
 House design software
 Landscape design software
 Bedroom design
 Office floor plan creator
 Trade show booth design
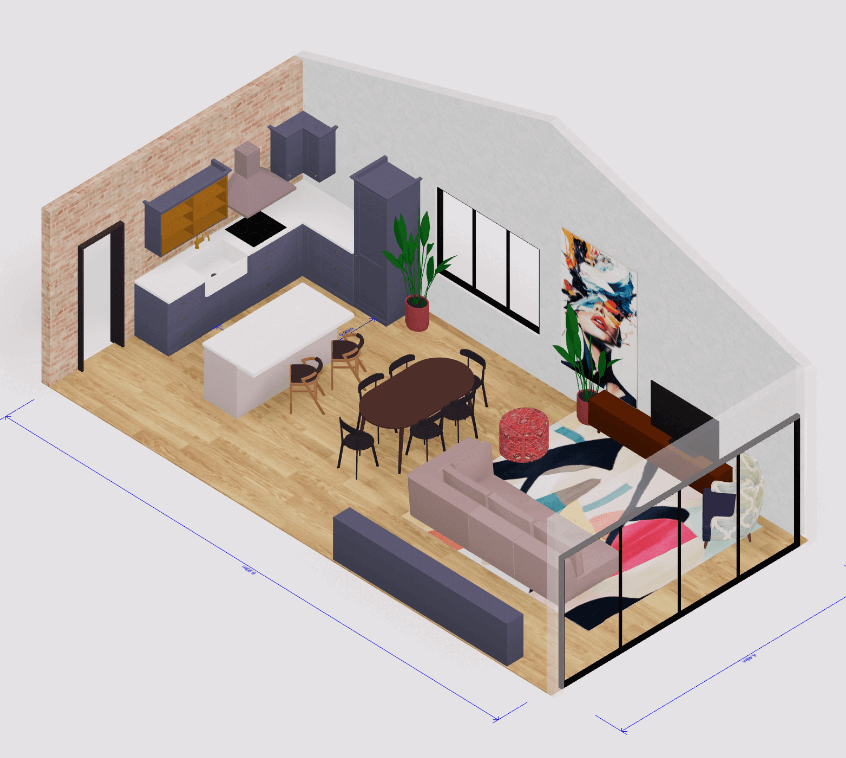 How to use Arcadium — full guide
 3D object library - free
 Articles and blog